Welcome to Mighty Process Server. This guide walks you through creating your free account, confirming your email, adding your company logo, and filling in the settings that clients see.
What you need before you start
- An email address you can check right now
- A phone number for your business
- Your company logo as a PNG or JPG file (400 x 400 pixels is recommended)
- Your business address, city, and state
Part 1: Create your account
- Go to mightyprocessserver.com/auth/signup, or click Sign Up at the top of the mightyprocessserver.com home page.
- Choose Process Server, then choose Free. The form that opens is titled Free Process Server and shows a Free for life, 25 jobs/mo badge.
- Enter your First Name, Last Name, Email, and Phone. These four fields are required.
- Check Country. It is set to United States (US) by default. City and State are optional on this screen.
- Create a Password. Click the eye icon if you want to see what you typed.
- Click Create your Free account.
- You will see a Check your email screen. Open the email from Mighty Process Server and click the verification link. If you do not see it within a few minutes, check your spam or junk folder.
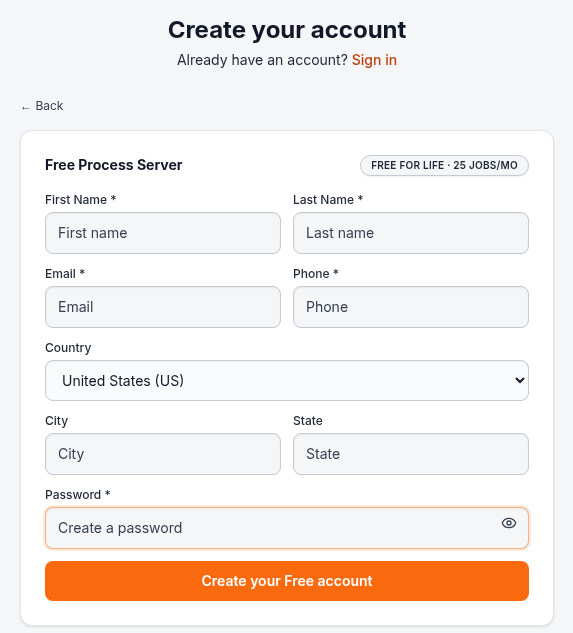
The Free Process Server sign-up form. Fields marked with a star are required.
Part 2: Complete your directory profile
The verification link opens a page called Complete Your Directory Profile. Every field on this page is optional, so fill in what you have now and come back for the rest later.
- Upload Logo. A 400 x 400 PNG or JPG works best.
- Check any boxes that apply to you: I want to be MPS Verified, I have E&O Insurance, and I have a PI License.
- Enter your Company Name, Contact Name, Phone, and Website.
- Under Location, enter your Street address, City, State, and Zip.
- Tell clients about your business in Why hire you?, Services Offered, and Counties Covered.
- Add your Years Exp. and your Standard, Rush, Same-Day, and On-Demand rates.
- Enter your License/Registration Number if you have one.
- Click Save Profile and Continue.
> Good to know: You may see a message that your profile listing will not be activated until you activate a Premium membership. Publishing a directory listing is a Premium feature. You can still finish setup and use your Free account.
> Tip: If your logo does not show up later in Organization Settings, upload it again there. Part 5 shows you how.
Part 3: Choose your plan
- On the next screen, click Continue with free membership to stay on the Free plan. Free includes up to 25 assigned jobs per month, and you do not have to upgrade to keep using it.
- If you want Premium tools now, click Upgrade to Premium instead. You can also upgrade later.
- After you continue, you land on My Jobs, your home base for creating and working jobs.
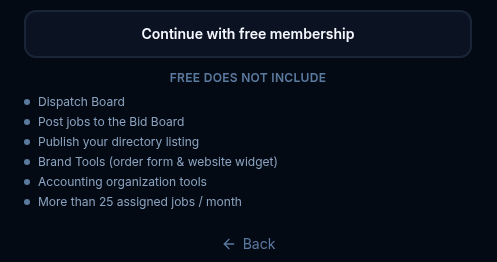
Click Continue with free membership to start on the Free plan.
The Free plan does not include the Dispatch Board, posting jobs to the Bid Board, publishing your directory listing, Brand Tools (order form and website widget), accounting organization tools, or more than 25 assigned jobs per month. See Pricing to compare plans.
Part 4: Set up your User Settings
User Settings hold your personal details. You can reach them at mightyprocessserver.com/portal/member/settings while you are signed in.
- Under Preferences, set your Time Zone so attempt times and due dates line up with where you work.
- Under Photo/Logo, add a photo or logo for your user profile.
- Under Personal Information, confirm your Full Name, Email, and Phone. All three are required.
- Under Address, enter your Street, City, State, and ZIP (required), plus County if you like. Country shows United States.
- Look through Appearance, Security, and Community Profile and adjust anything you want.
Part 5: Set up Organization Settings and add your logo
Organization Settings hold your company details: company info, directory listing, service rates, invoicing, bid preferences, and team management. You can reach them at mightyprocessserver.com/portal/member/organization while you are signed in.
Across the top you will see these tabs: Directory Listing, Clicks, Reviews, Star Ranking, Rates, Stripe, My Jobs, Team, and Integrations.
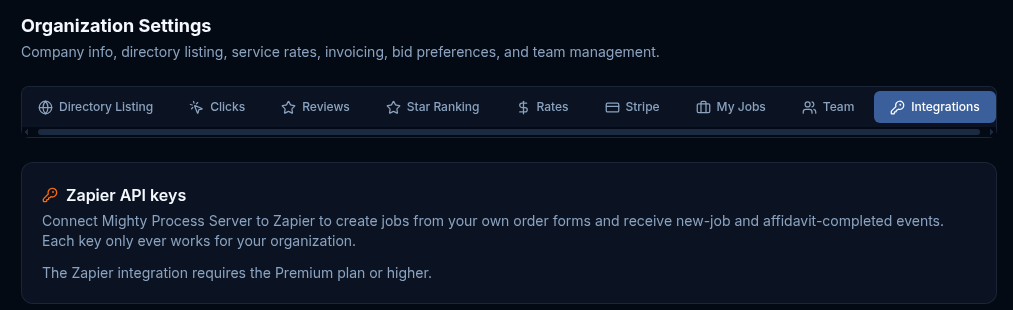
The Organization Settings tabs.
Add your logo
- Open the Directory Listing tab.
- Find Logo & Brand Colors and click the upload box.
- Choose your logo file. The upload can take several seconds.
- Your brand colors are pulled from your logo automatically. The darker color becomes your Primary Color and the other becomes your Secondary Color. Each one shows its color code.
- To swap the logo, click Change. To delete it, click Remove.
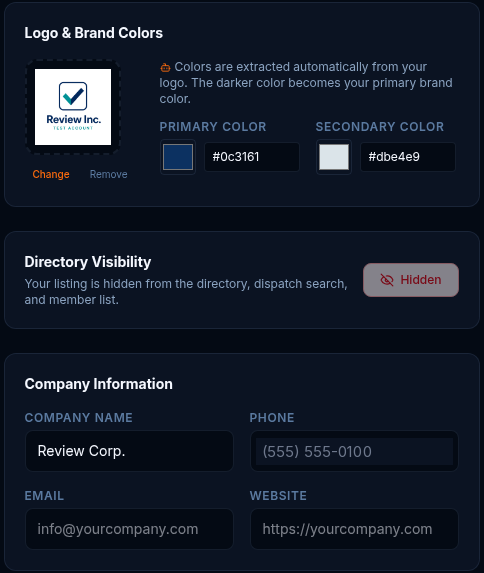
Sample only: a test company logo uploaded in Logo & Brand Colors.
Fill in your company details
Still on the Directory Listing tab, work down the page:
- Company Information: enter your Company Name, Phone, Email, and Website.
- About Your Company: write a short company description. It appears on your public profile and directory card, and a strong description helps clients pick you.
- Trust Badges: add any that apply to you.
- Business Address: enter your Street, Suite, City, State, and Zip. City and State are required before your listing can appear. Until you add them, the page shows "City is required" and "State is required."
- Service Rates: enter your prices for Standard (3-5 business days), Priority (24-48 hours), Urgent (same day), and On Demand (immediate). Leave a rate blank to hide that tier.
- Hours of Operation: this is optional. Mark any day Closed to hide it, or click Copy Mon to weekdays to save time.
- Languages: add the languages you work in.
- Directory Visibility: this shows whether your listing appears in the directory, dispatch search, and member list. When it reads Hidden, your listing is hidden from all three.
Look through the other tabs
The other tabs are Clicks, Reviews, Star Ranking, Rates, Stripe, My Jobs, Team, and Integrations. Two are worth a look on day one:
- Stripe: connect Stripe so your completed-job earnings can be paid out to you.
- Integrations: the Zapier integration requires the Premium plan or higher.
You are all set
Your account is ready. Next, create your first job.
- Next tutorial: How to Create a Job and Assign a Server
- Questions? Visit the Help Center and FAQs, click Contact Support in the left menu of your dashboard, or email support@mightyprocessserver.com.